
Photorealistic interior render: what you really need before starting
A convincing render is not born from a special effect. It begins when a space has been listened to before it is represented.
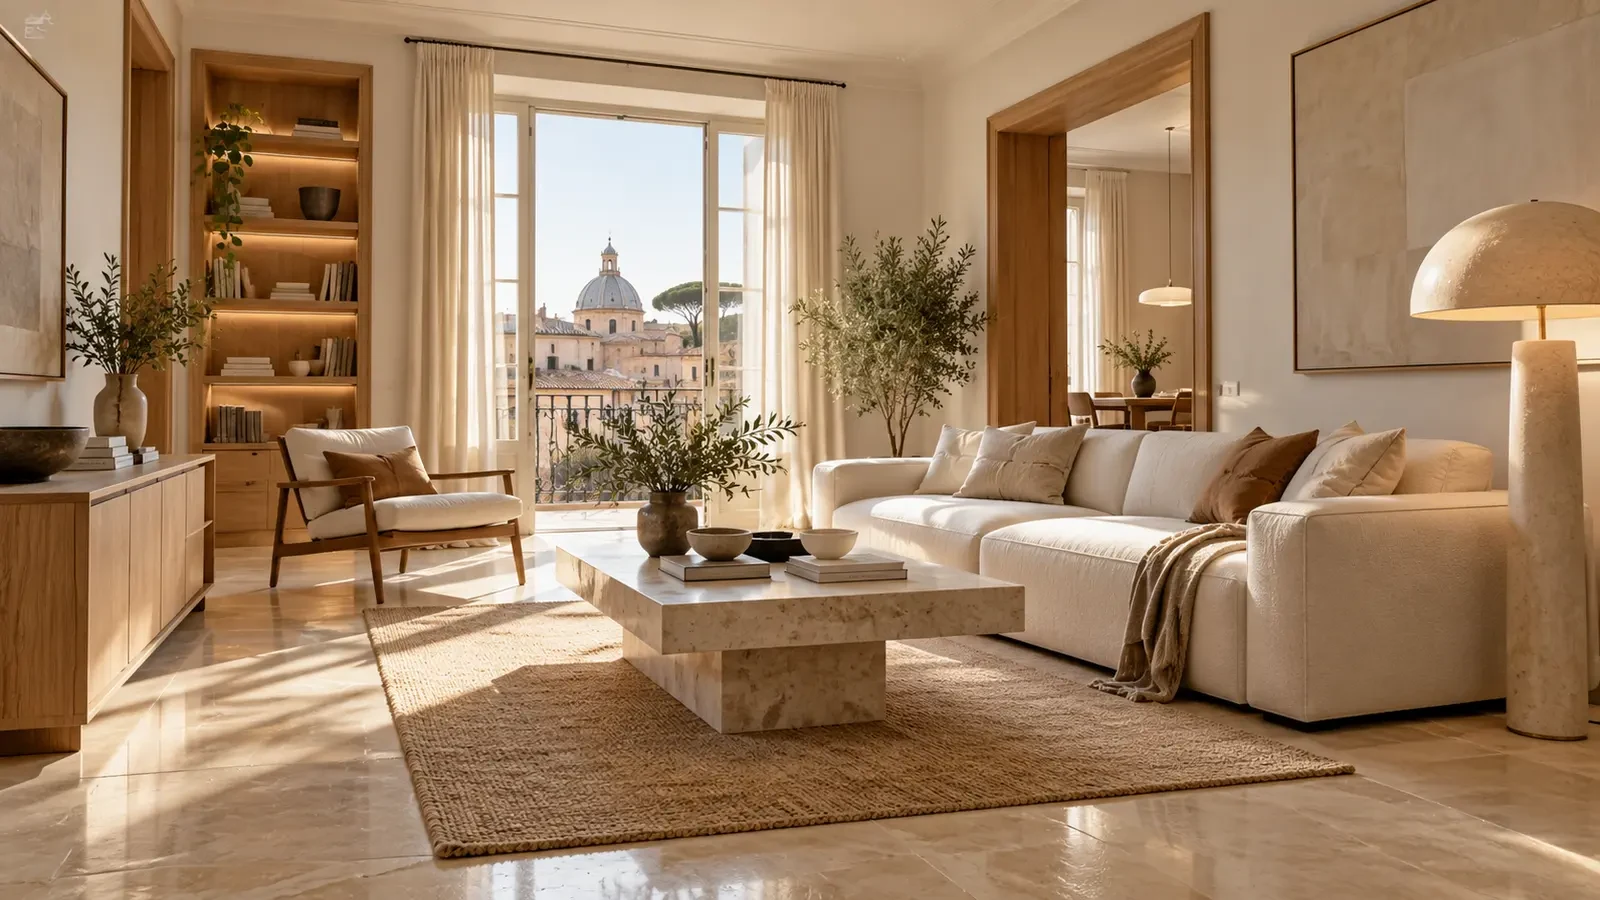
Before the golden light, the perfect sofa and the wall that seems to breathe, there is a quieter gesture: measuring. A photorealistic render is where an idea leaves the mist and accepts precision. It is not decoration applied to a project, but a promise supported by plans, proportions, materials and everyday life.
1. Survey before image
A render can be seductive and still be wrong. A misplaced door, an ignored column or a lower window can turn an impeccable scene into an expensive decision. A useful survey records heights, wall thicknesses, radiators, sockets, views, daylight orientation and everything that cannot be changed.
2. Light is not a filter
Light must be described as a material. Where does it enter? When does it touch the floor? Is it filtered by curtains, trees or buildings? A responsible render shows a credible condition instead of hiding every shadow behind a cinematic mood.
3. Materials: fewer effects, more truth
Wood has grain, marble has direction, metal reflects its surroundings and fabric absorbs light. We select samples, finishes and relationships between surfaces before building the scene. Generic “luxury” materials may look rich on screen but rarely explain how a room will age or be lived in.
4. Rendering should help decisions
The question is not simply “does it look real?” but “does it help me choose?”. A good image clarifies circulation, cabinet openings, the distance between table and wall, the visual weight of a kitchen and the relationship between lamp and sofa.
5. Do not design for the photograph
An interior is not an empty set. It has cables, books, curtains, seats, paths and objects that change through the day. A few everyday signs — a reading light, a clear worktop, a comfortable route — make the room recognisable and liveable.
6. A sequence, not one promise
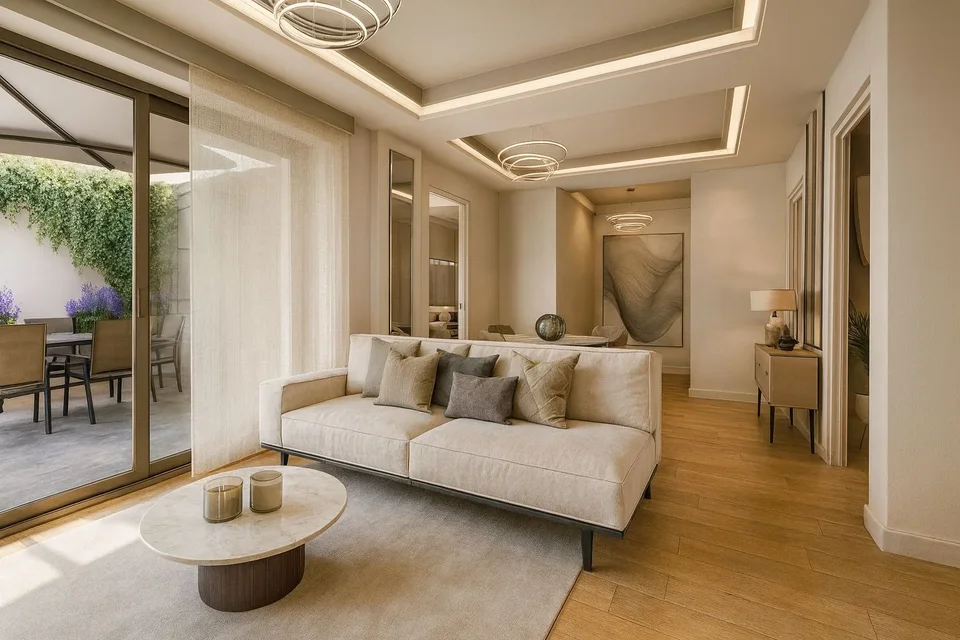
A hero view tells the atmosphere; a second tests the layout; a detail explains material and light. Three purposeful images are stronger than ten variations of one angle. Each view should answer a real project question.
Strumenti utili prima del render
Metro laser per rilievi
Per verificare misure, allineamenti e profondità prima di immaginare una stanza.
View on Amazon.itTaccuino per moodboard
Un supporto semplice per raccogliere materiali, luce, proporzioni e decisioni.
View on Amazon.itCampioni di colore
Il colore va letto accanto al pavimento, alla luce e ai tessili reali.
View on Amazon.itLampada da lavoro CRI alto
Una luce fedele aiuta a giudicare campioni e temperature cromatiche.
View on Amazon.itLibro di interior design
La cultura visiva affina il progetto prima ancora del software.
View on Amazon.itPubblicità · Alcuni collegamenti sono link affiliati Amazon.
Dal render al progetto reale
Servizi di interior design · Preventivo di progettazione · Progettare una casa da ristrutturare · Luce e atmosfera negli interni · STEEL PROJECT
Sources and references
Let us turn your intentions into a space you can already inhabit with your eyes.
Un’immagine bella è l’inizio; un’immagine verificabile è già una forma di progetto.
Raccontami il tuo progetto