
Shower niche: dimensions, waterproofing, slope and lighting
A well-designed niche disappears into the wall; an improvised one collects water, awkward cuts and problems.
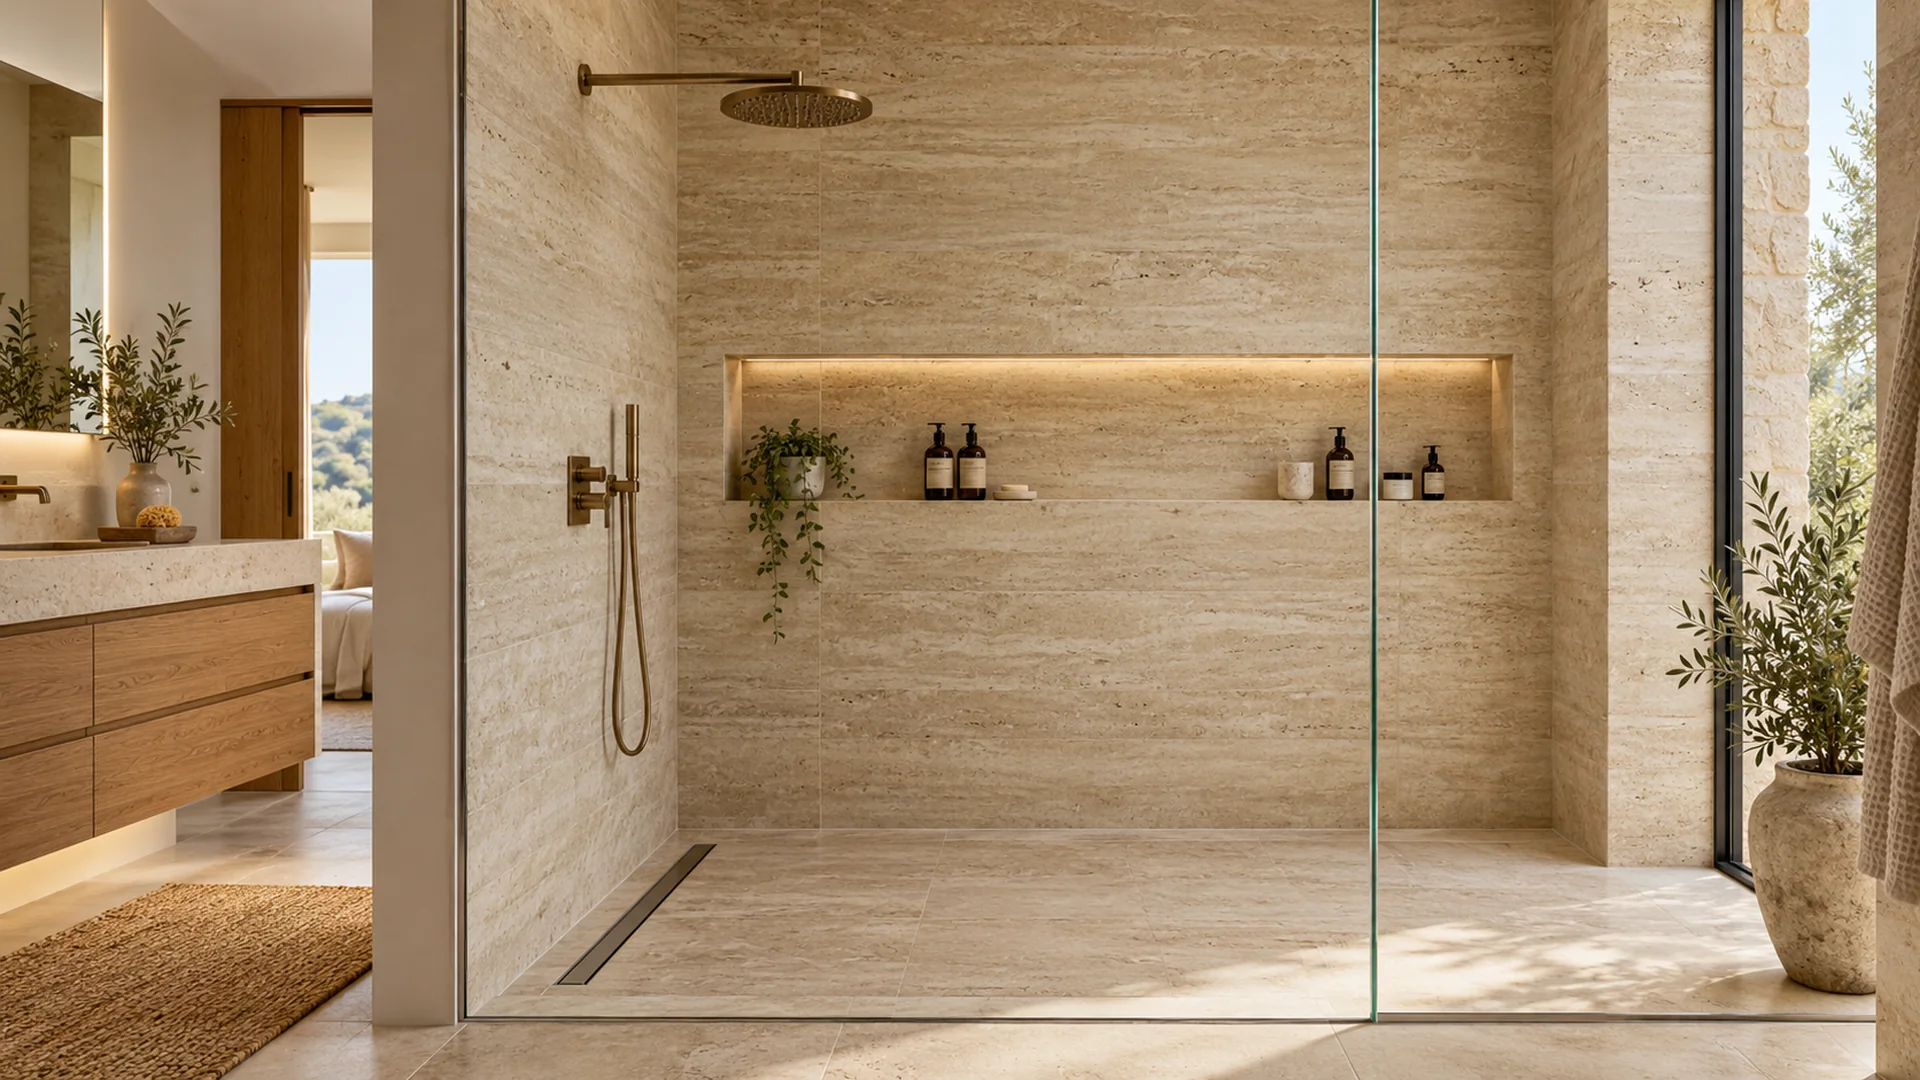
A niche brings order into the shower and keeps bottles off the floor. Its elegance does not begin with the finish: it starts behind the tile, where wall, water, falls, services and maintenance meet.
First ask whether the wall can be recessed
Not every wall accepts a niche. Structure, limited thickness and hidden services may rule it out. Confirm construction, real depth and routes for water, waste and electricity before cutting. In a lining, usable depth depends on studs and reinforcement. When an inset cannot be made safely, a coordinated surface shelf is better than a forced opening.
Height follows the gesture, not the grout line
The lower shelf must be reachable without bending and must avoid controls, hand shower and direct spray. Test real users, bottle height and wet-hand use. A high niche may look light but feel awkward; a low one receives more water. A vertical recess with two shelves can serve different users when each level drains and cleans easily.
Useful width, height and depth
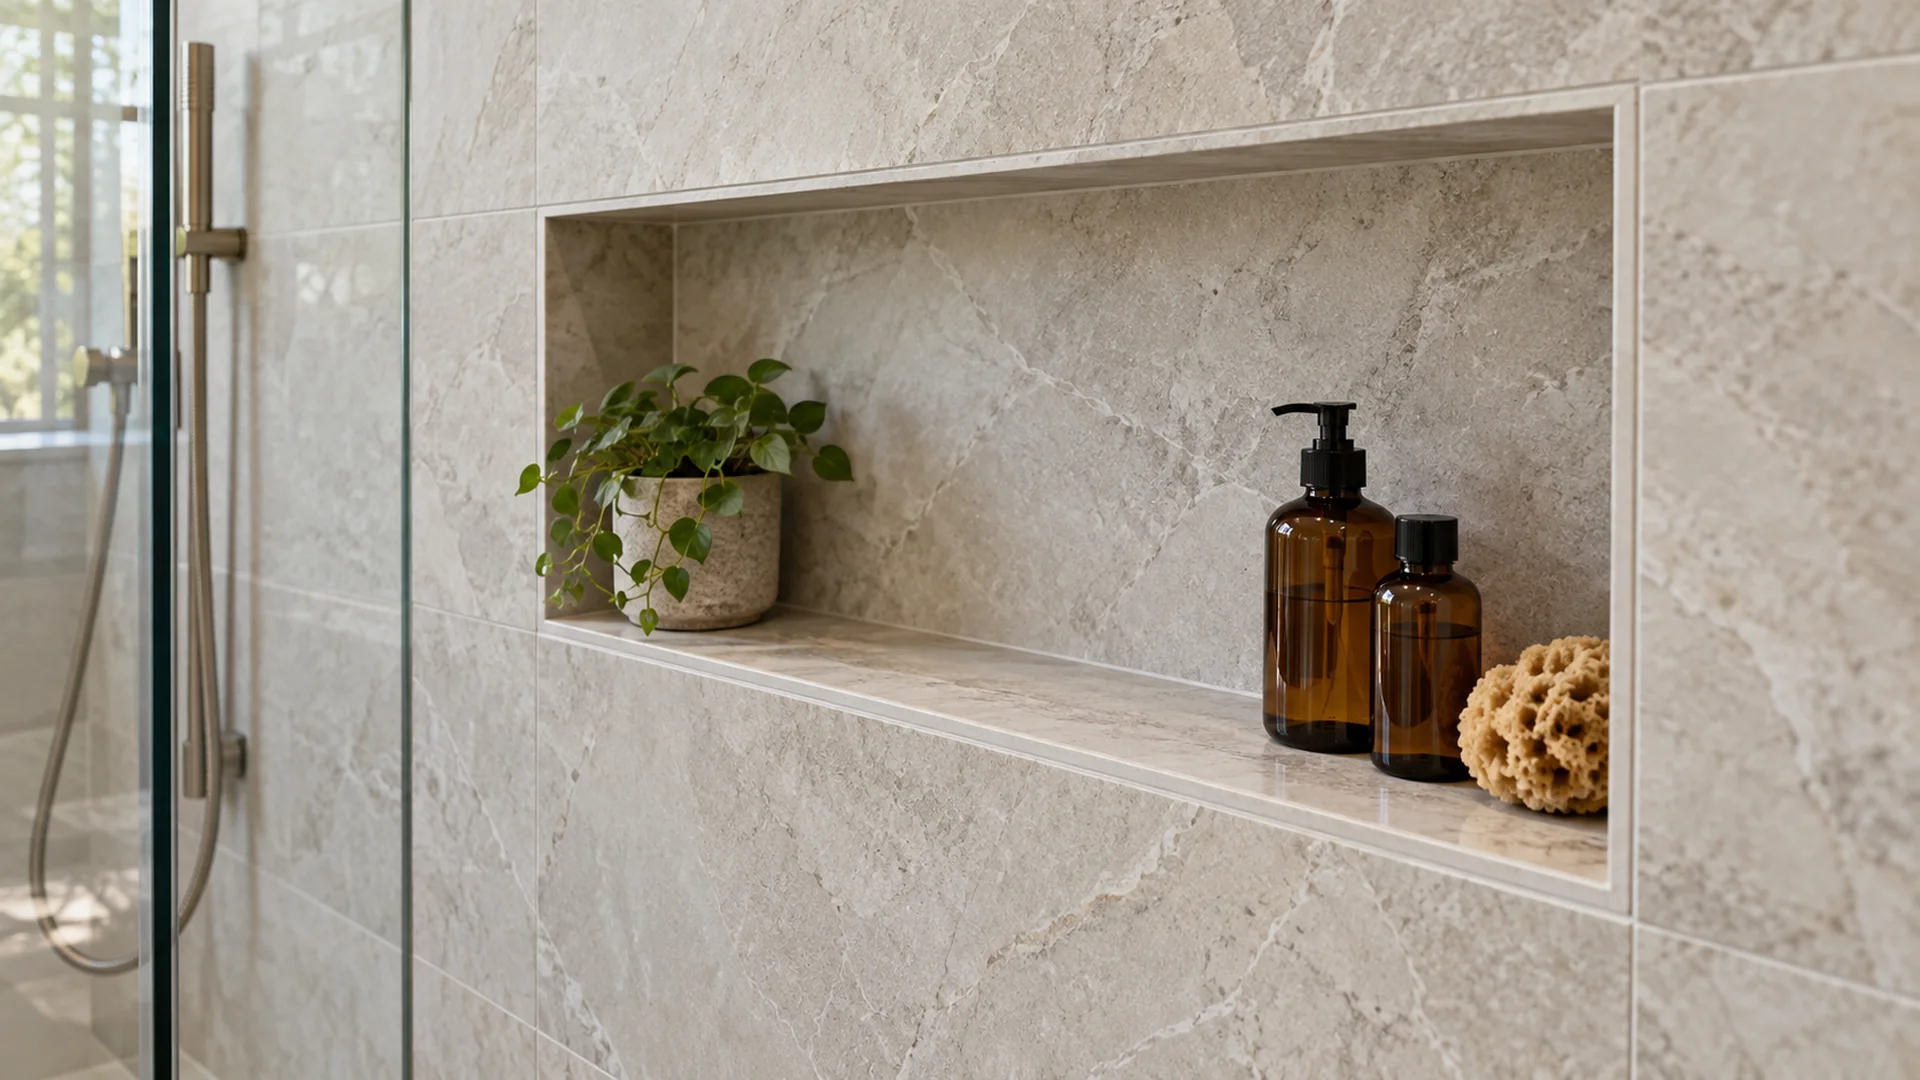
Dimensions follow actual products. Pumps, caps and hands need clearance, while the tallest bottle sets clear height. Depth depends on what remains after substrate, waterproofing, adhesive and finish. The front edge also consumes space. Make a full-size mock-up and test everyday contents; a photogenic niche that cannot hold them is not functional.
Continuous waterproofing through every corner
A niche interrupts the wall and multiplies junctions. Waterproofing must continue across the back, sides, head and perimeter with compatible tapes and corner pieces specified as one system. Grout and silicone are not the primary water barrier. Substrate, primer, membrane, adhesive and finish need a coherent, inspected build-up before covering.
The shelf must drain into the shower
A flat surface retains droplets, soap and limescale. Form a subtle fall toward the shower in the substrate, including intermediate shelves, without creating an uncomfortable front edge. Do not improvise slope with adhesive alone. Check that trims do not create a small dam and that every surface can be dried easily.
Plan joints and cuts before tiling
The niche should converse with the tile module. Centring it within a slab may avoid thin cuts; aligning with a joint can calm the elevation but should not compromise use. Large formats require a laying sequence and realistic handling. Mitres, metal trims and frames change cost and edge durability. A dimensioned elevation prevents slivers and visible corrections.
Integrated light requires precise rules
A concealed line can make the recess glow softly, but water and electricity demand suitable components and positions. The profile needs heat dissipation, a dot-free diffuser and cleanability; drivers and connections must remain accessible in permitted locations. A qualified electrician defines protection and installation. Grazing light also reveals every uneven joint.

Coordinate pipes and controls
The mixer wall often contains concealed bodies, joints and pipes. A nearby niche can obstruct maintenance or force unnecessary detours. Use a side wall where appropriate or coordinate both details before first fix. Draw the recess and hidden services in section, retain required access and photograph routes before finishes hide them.
Cleaning, standing water and materials
Deep corners need more care. Low-absorption finishes, sound joints and reachable edges reduce deposits. Bottles trap water beneath them, so quick squeegeeing and drying limit marks. Stone, metals and sealants respond differently to cleaners. Specify compatible products and treat silicone as an inspectable, replaceable maintenance joint.
Checklist before the wall closes
Confirm wall thickness, structure where relevant, service routes, finished floor level, user heights, actual bottles, clear dimensions, waterproofing build-up, falls, joint layout, edges, lighting and driver access. Issue elevation, plan and section and coordinate designer, plumber, electrician, builder and tiler. Photograph every hidden layer and inspect waterproofing before tiling.
Useful tools and accessories
Mensola doccia senza fori
Alternativa alla nicchia quando la parete non può essere incassata; supporto, portata e resistenza all’umidità vanno verificati.
View on Amazon.itProfilo LED per ambiente umido
Per una luce integrata servono componenti idonei, dissipazione e alimentatore accessibile, progettati da un professionista.
View on Amazon.itTergivetro compatto
Aiuta a limitare ristagni e calcare su ripiani, vetro e rivestimenti dopo l’uso.
View on Amazon.itLivella laser a linee
Utile per coordinare bordi della nicchia, fughe e quote del rivestimento prima della posa.
View on Amazon.itSigillante sanitario antimuffa
Va scelto secondo materiali e sistema; non sostituisce impermeabilizzazione e corretta preparazione del supporto.
View on Amazon.itAdvertising · Some links are Amazon affiliate links. Selection remains editorial and independent.
Explore the project
Interior design services · Design quote · Walk-in shower: sizes and falls · Large bathroom tiles · Timber in the bathroom